vmware-aria
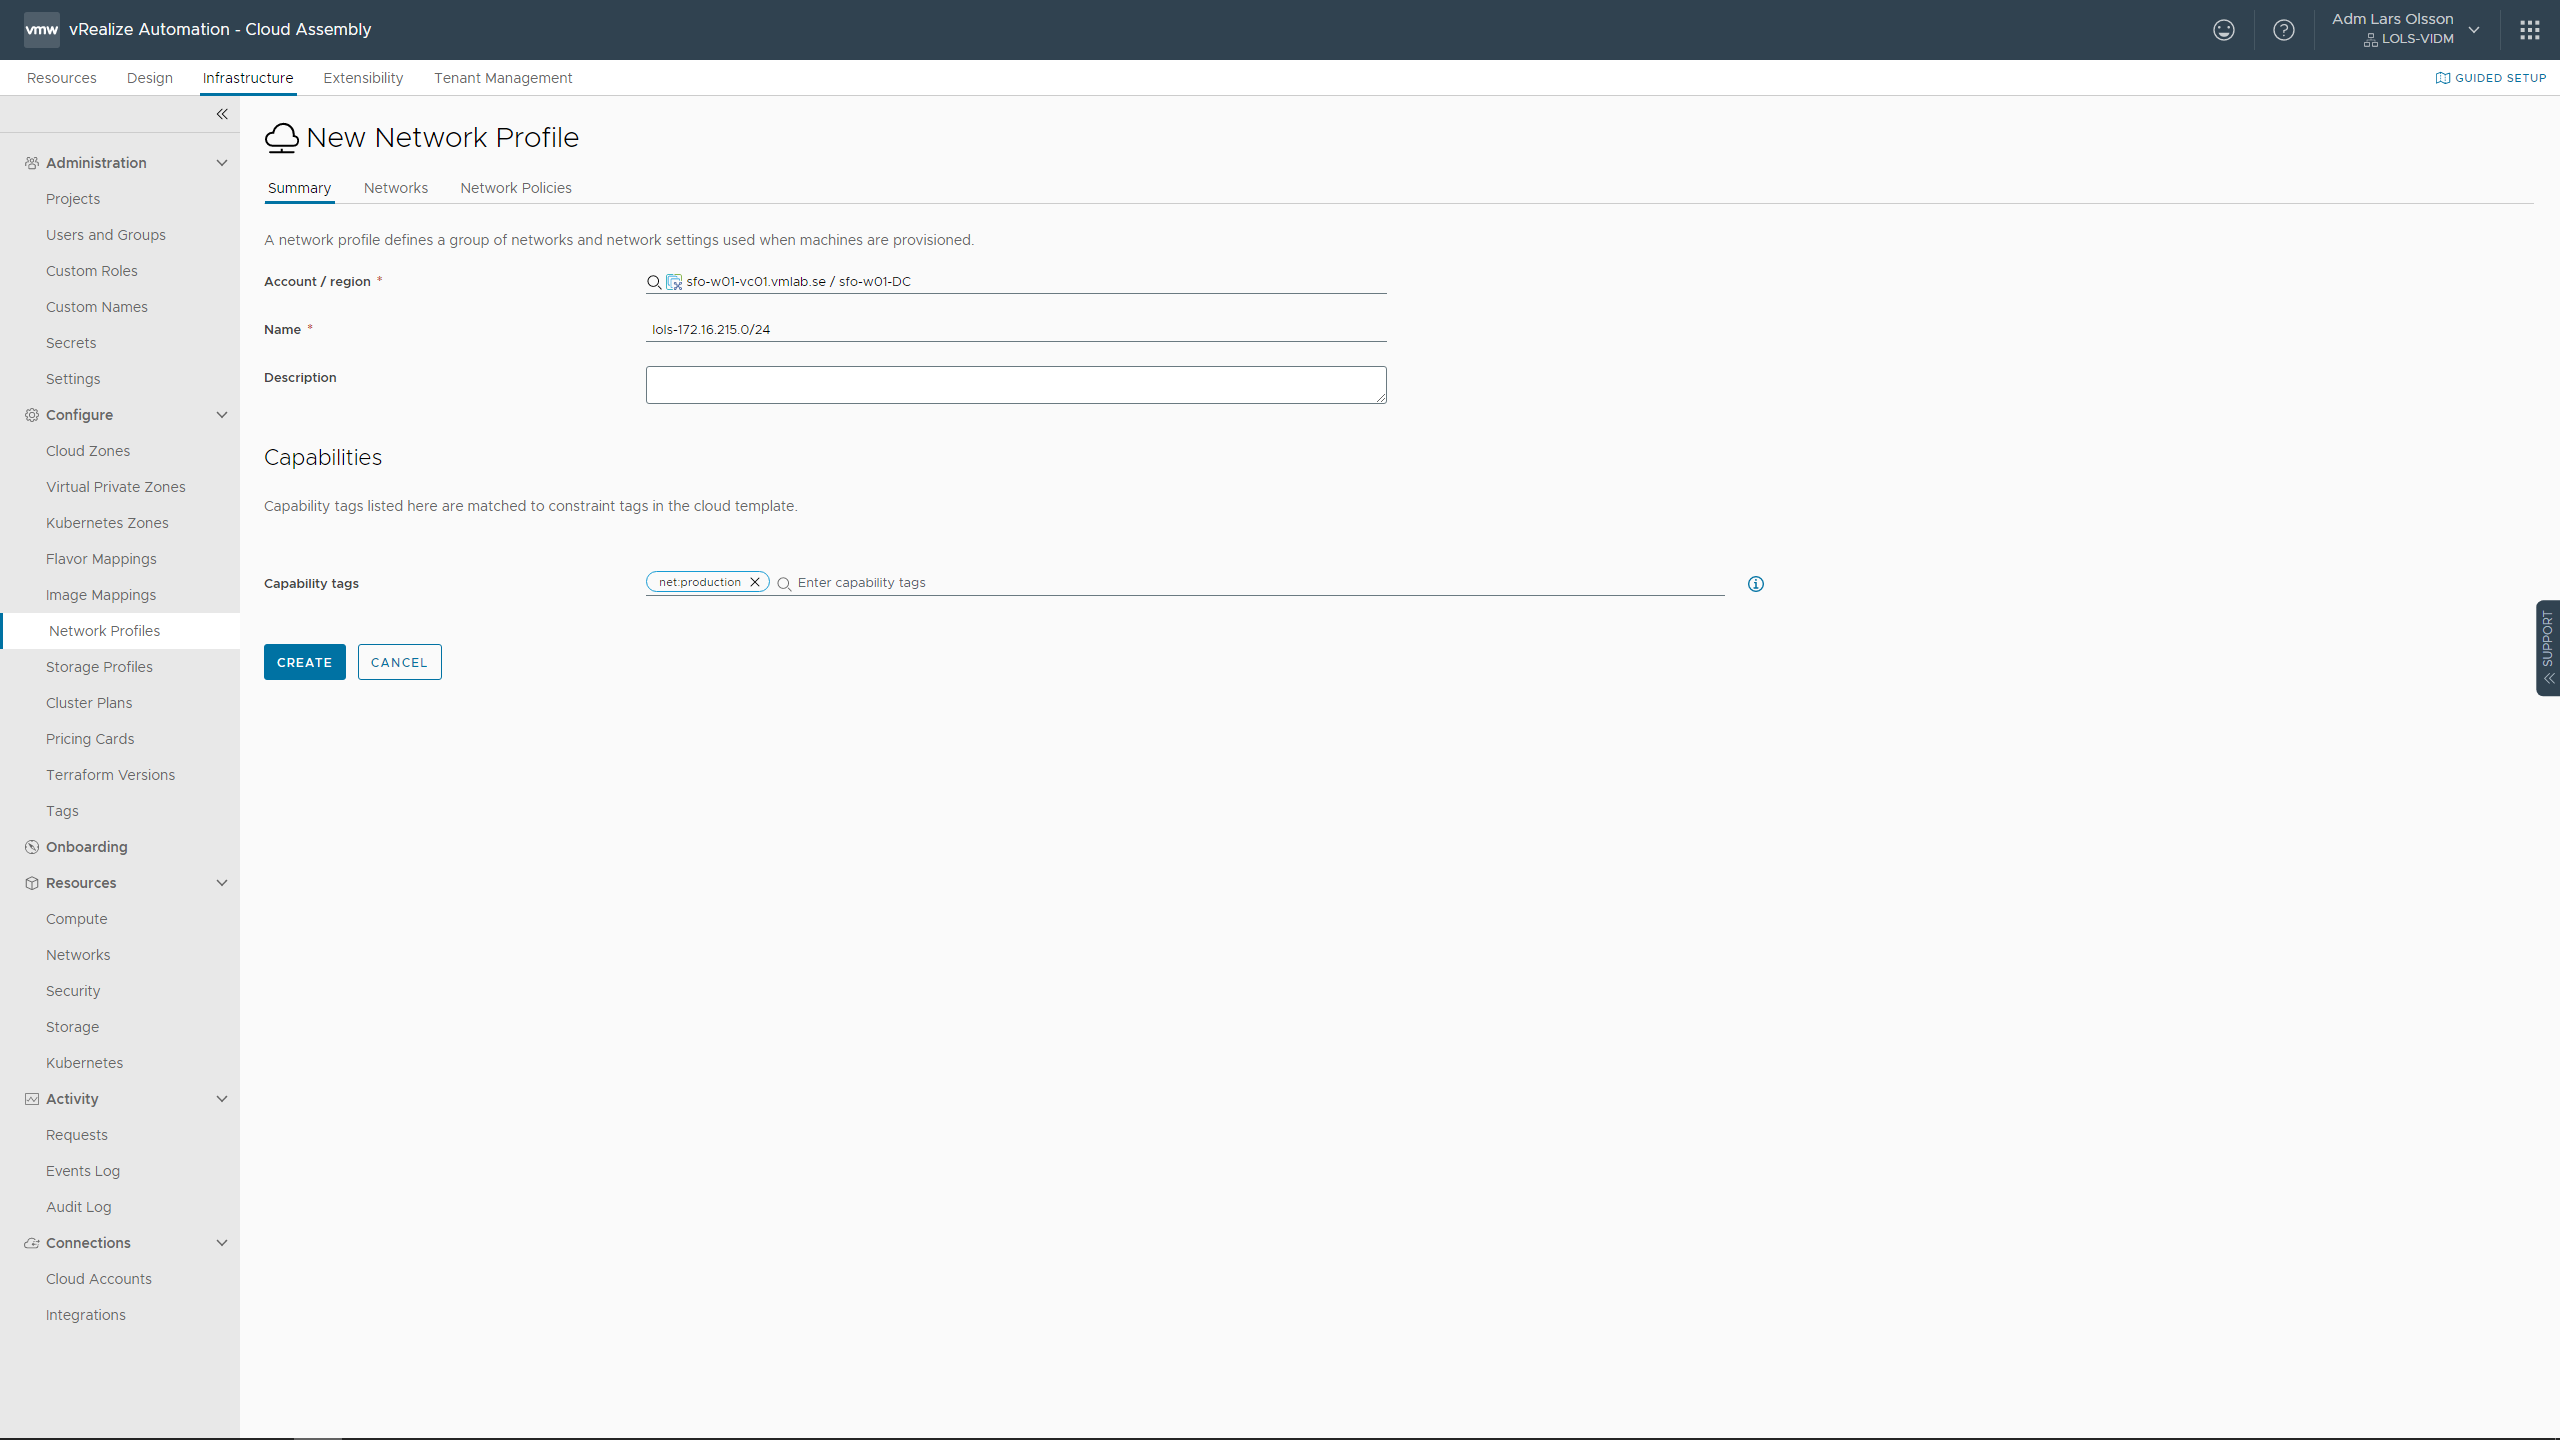
Cloud Assembly - Infrastructure - Network Profiles - NEW NETWORK PROFILE
Give your network profile a name and a capability tag. In this example I’m using ‘net:production’
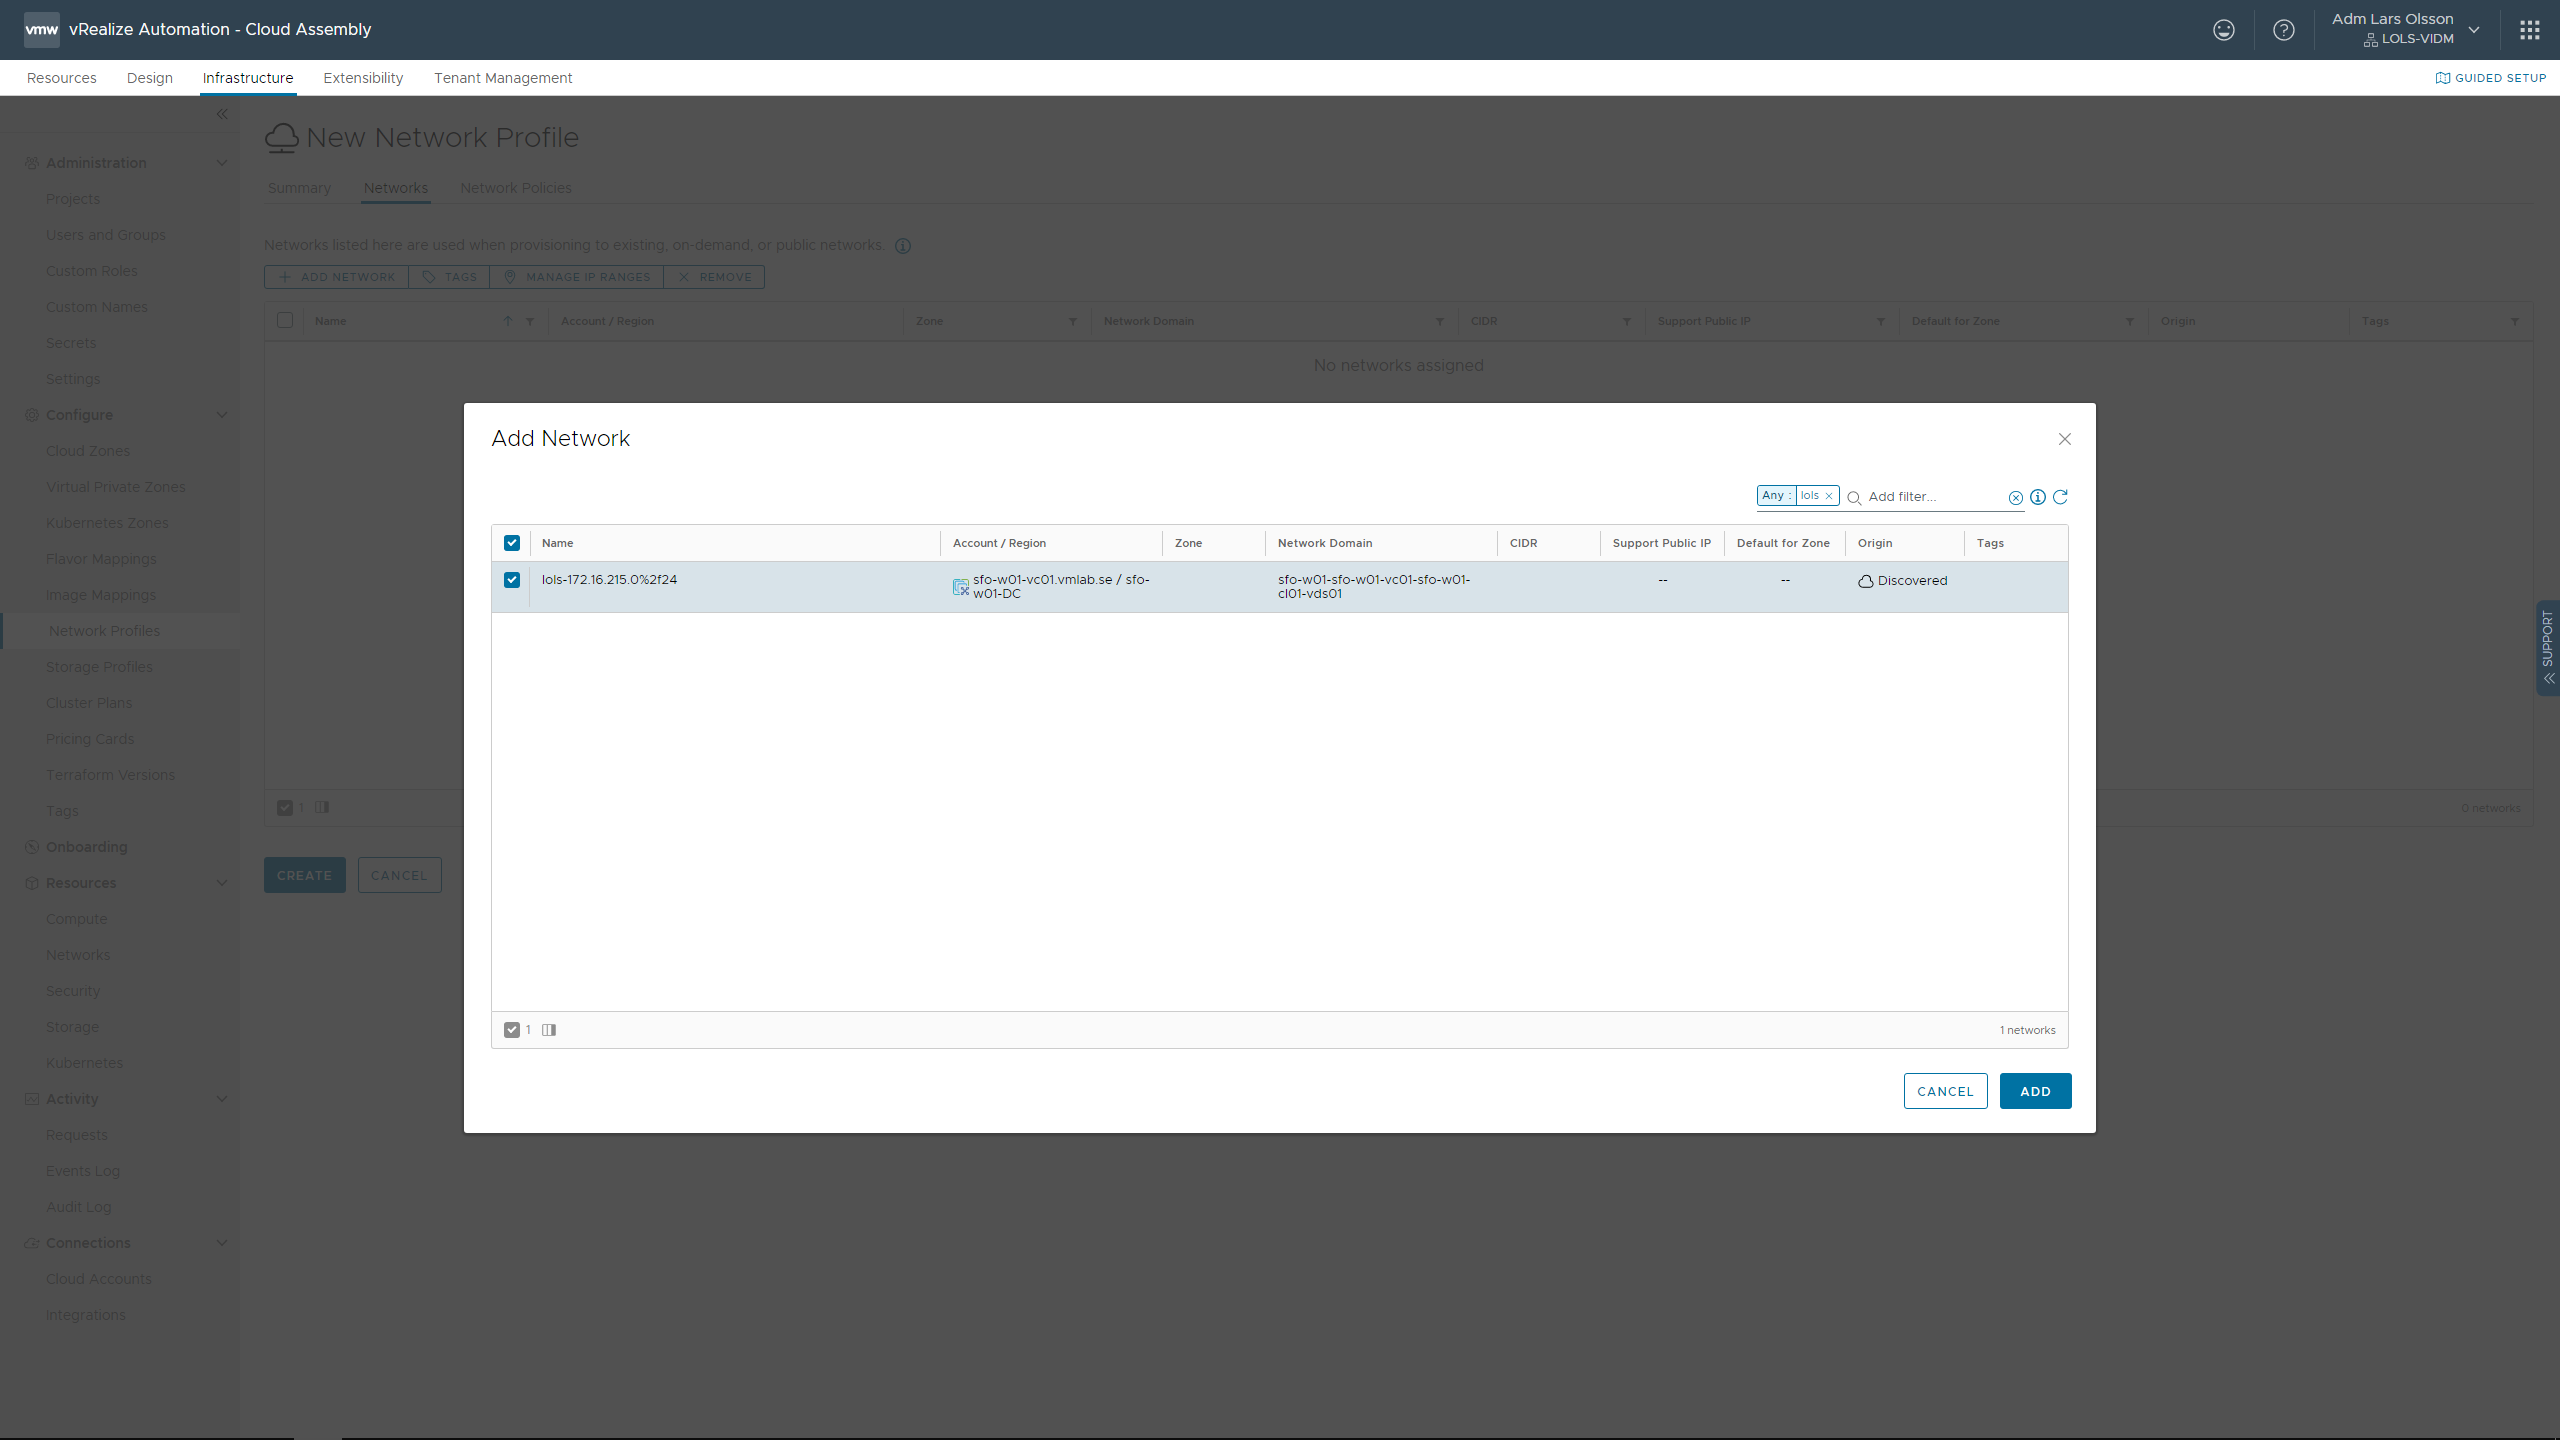
Go to Networks tab. Click ADD NETWORK. Select the network you want to provision to. This can be the same network as you enabled as the Default for Zone during the initial setup. Click ADD.
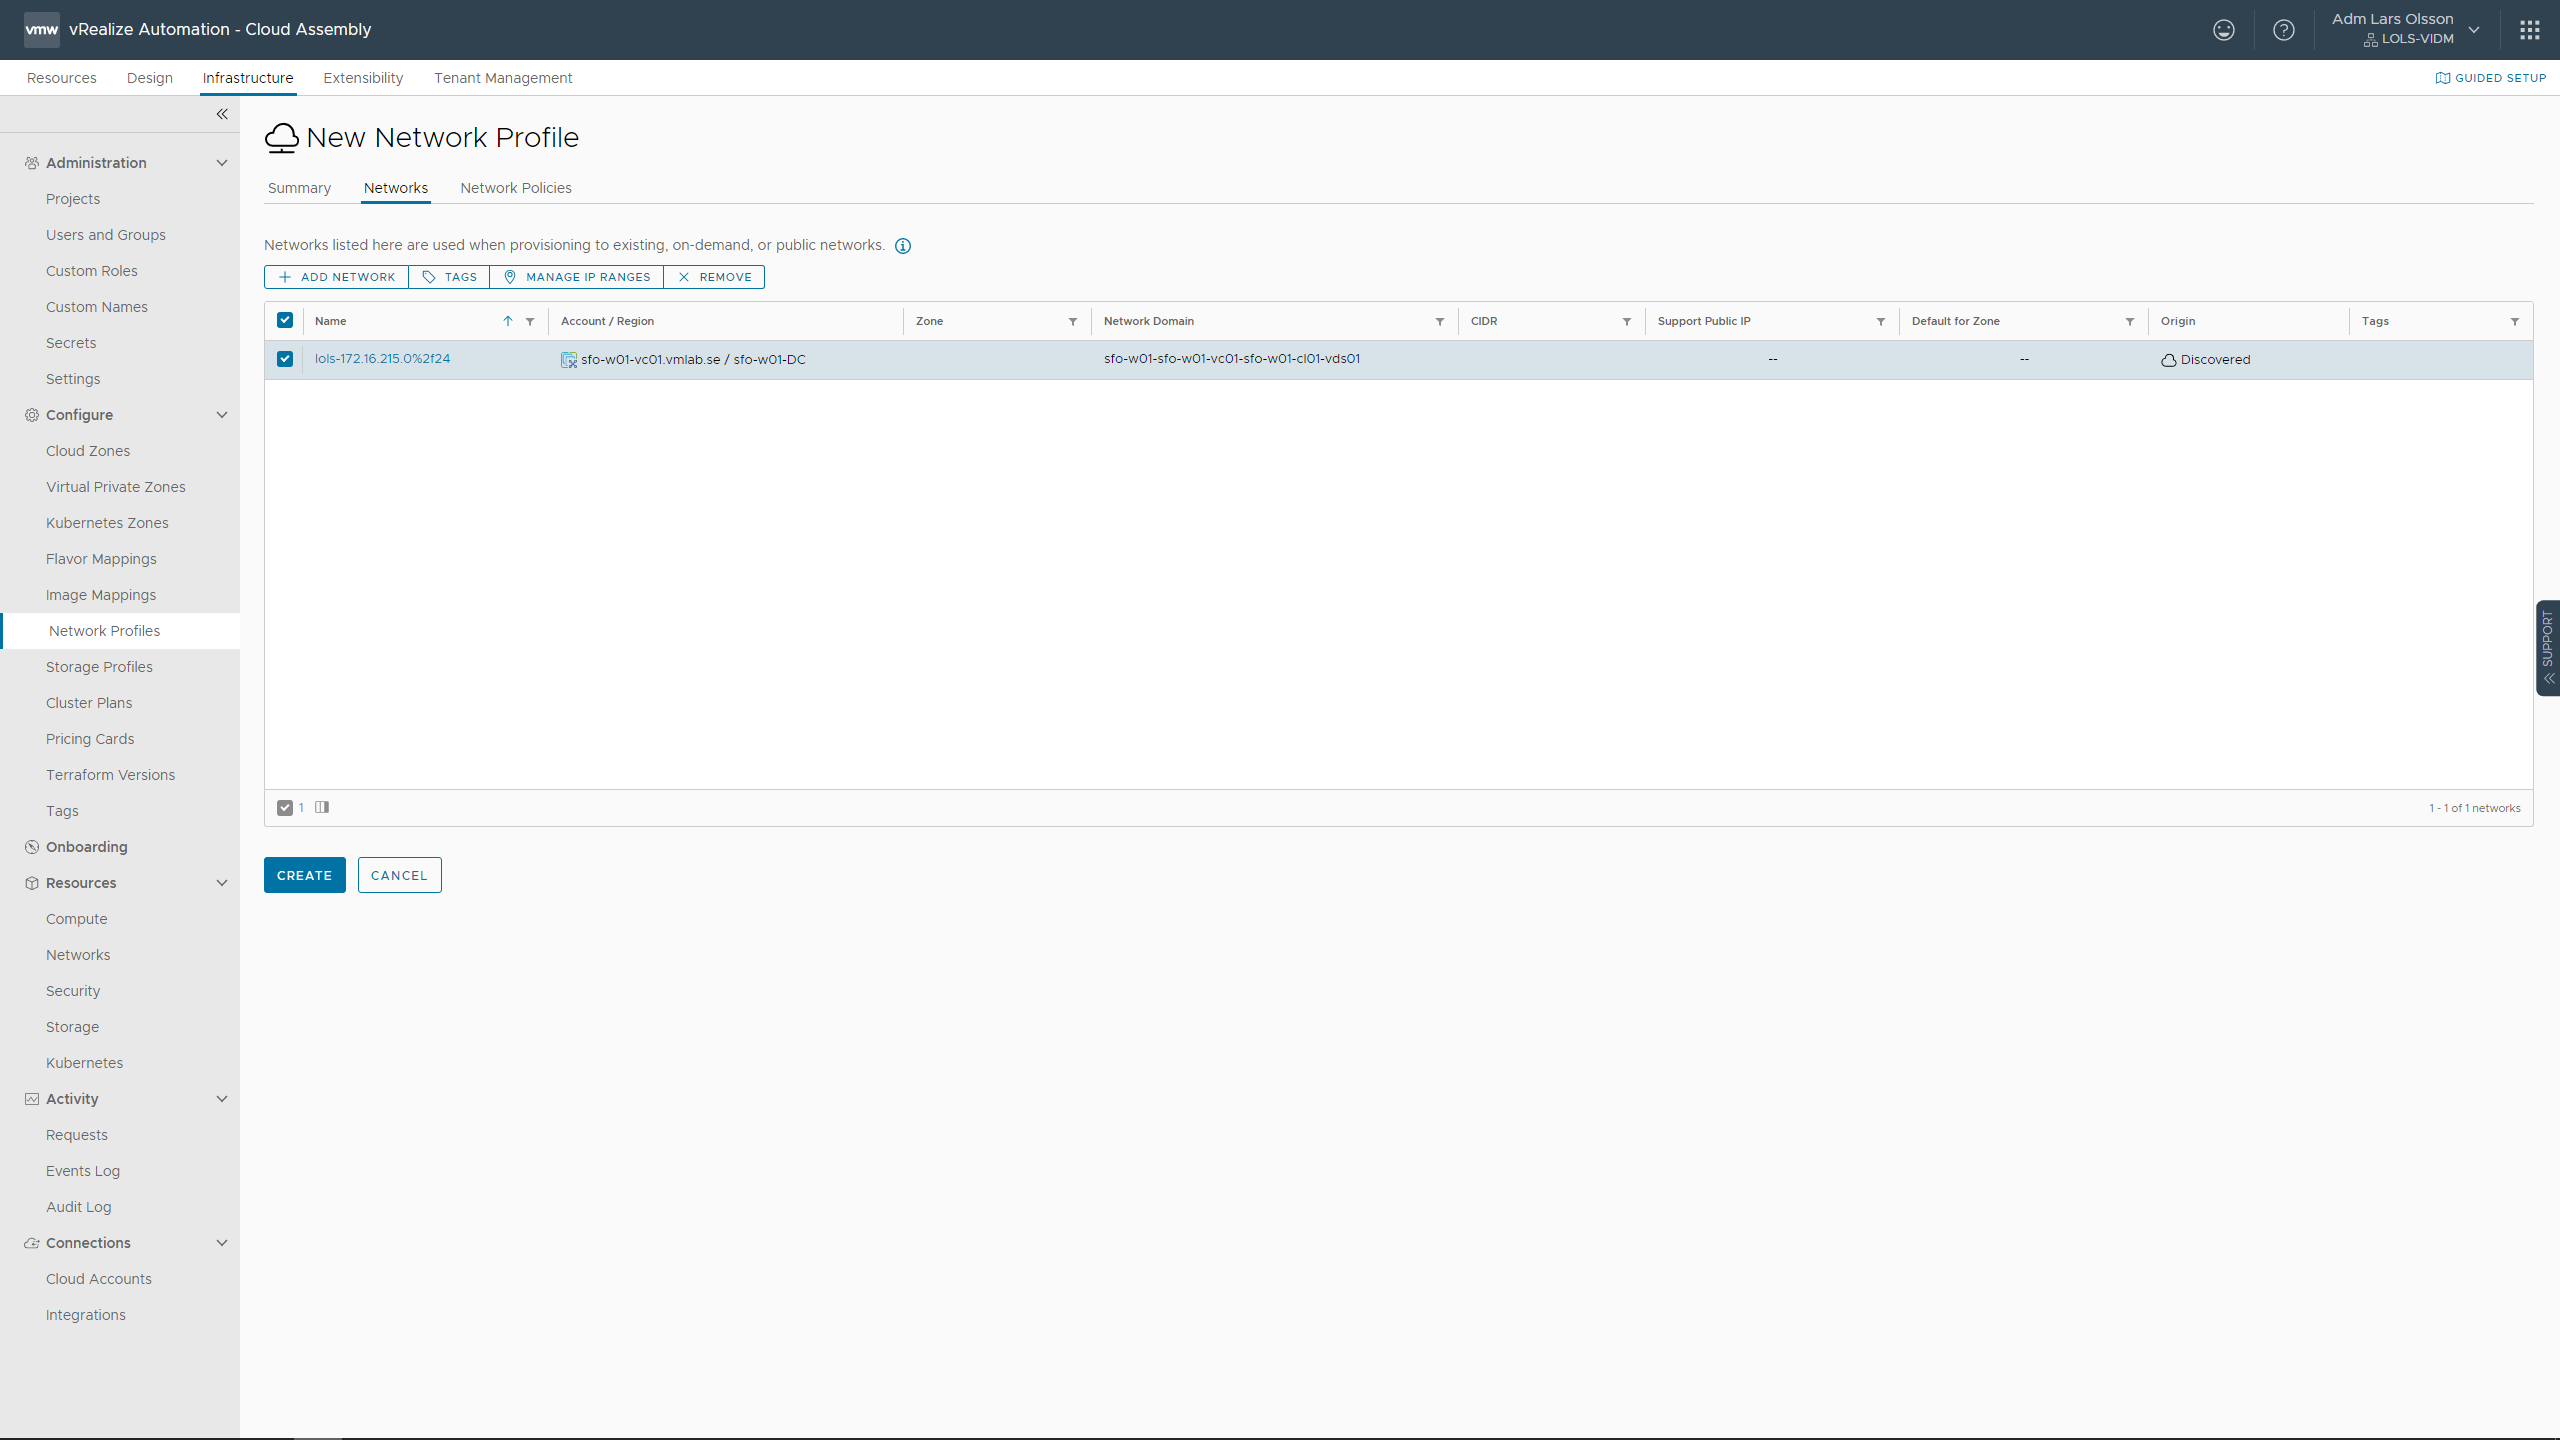
Click CREATE.
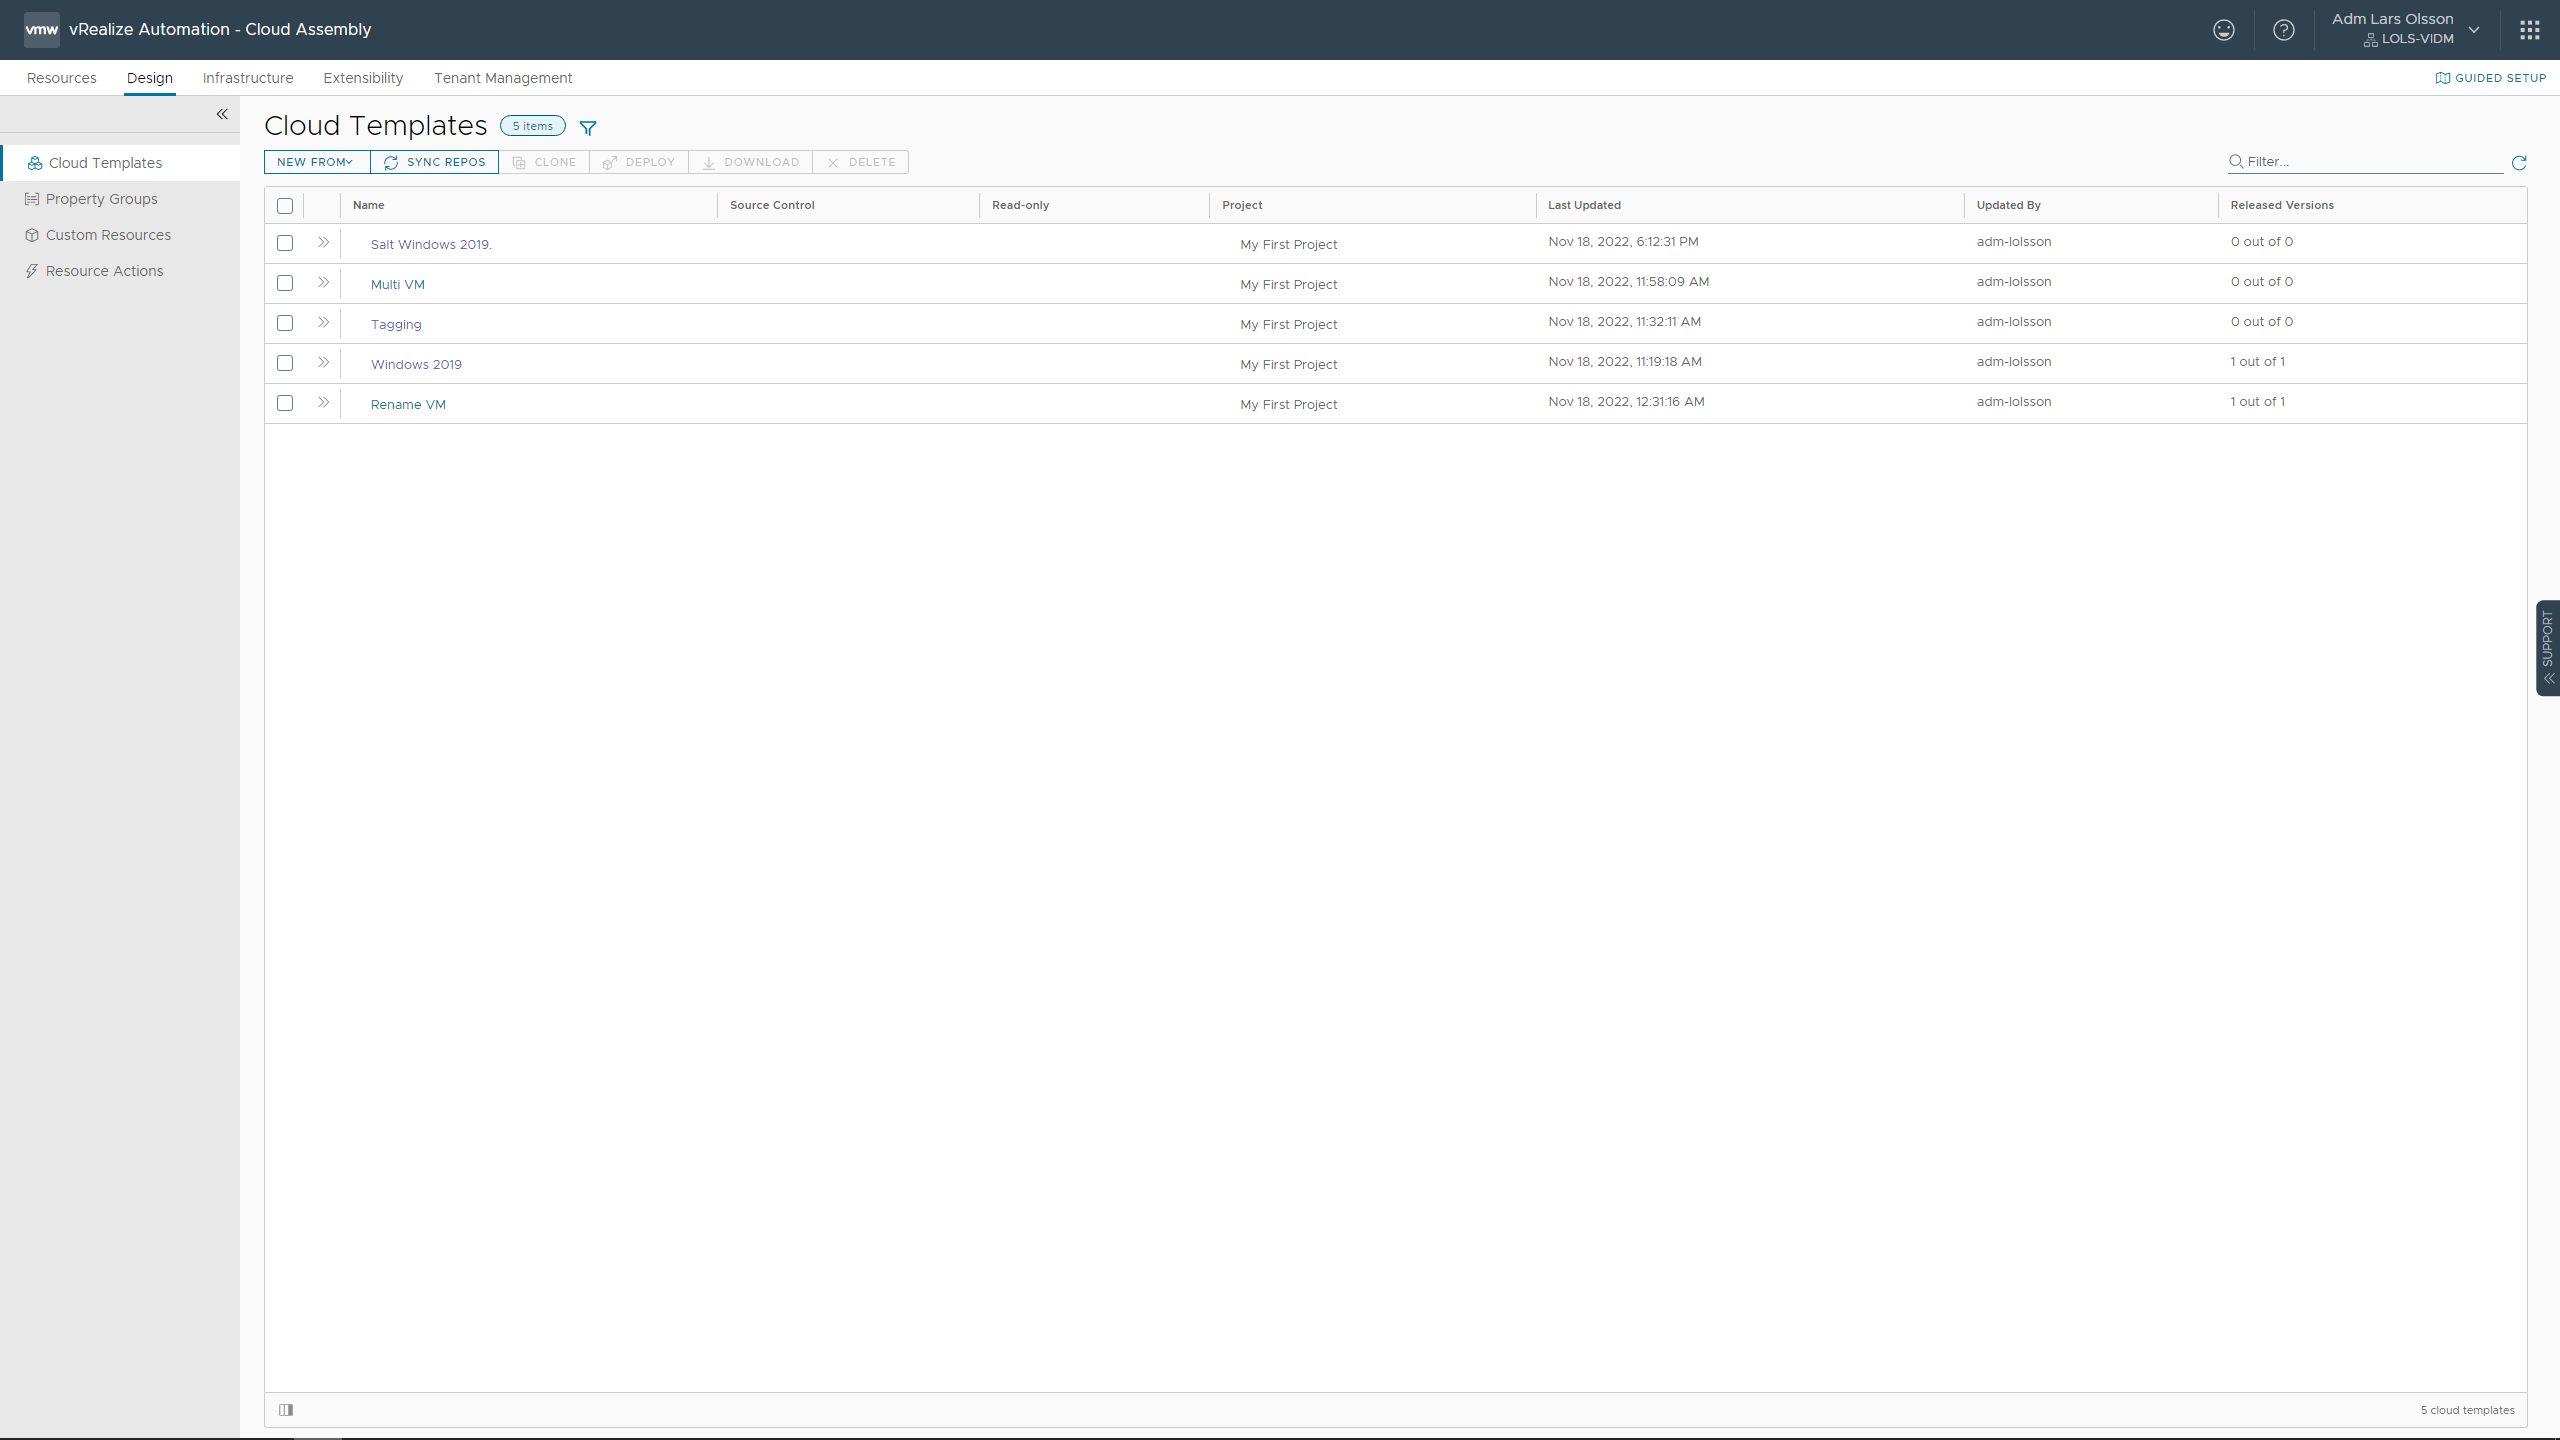
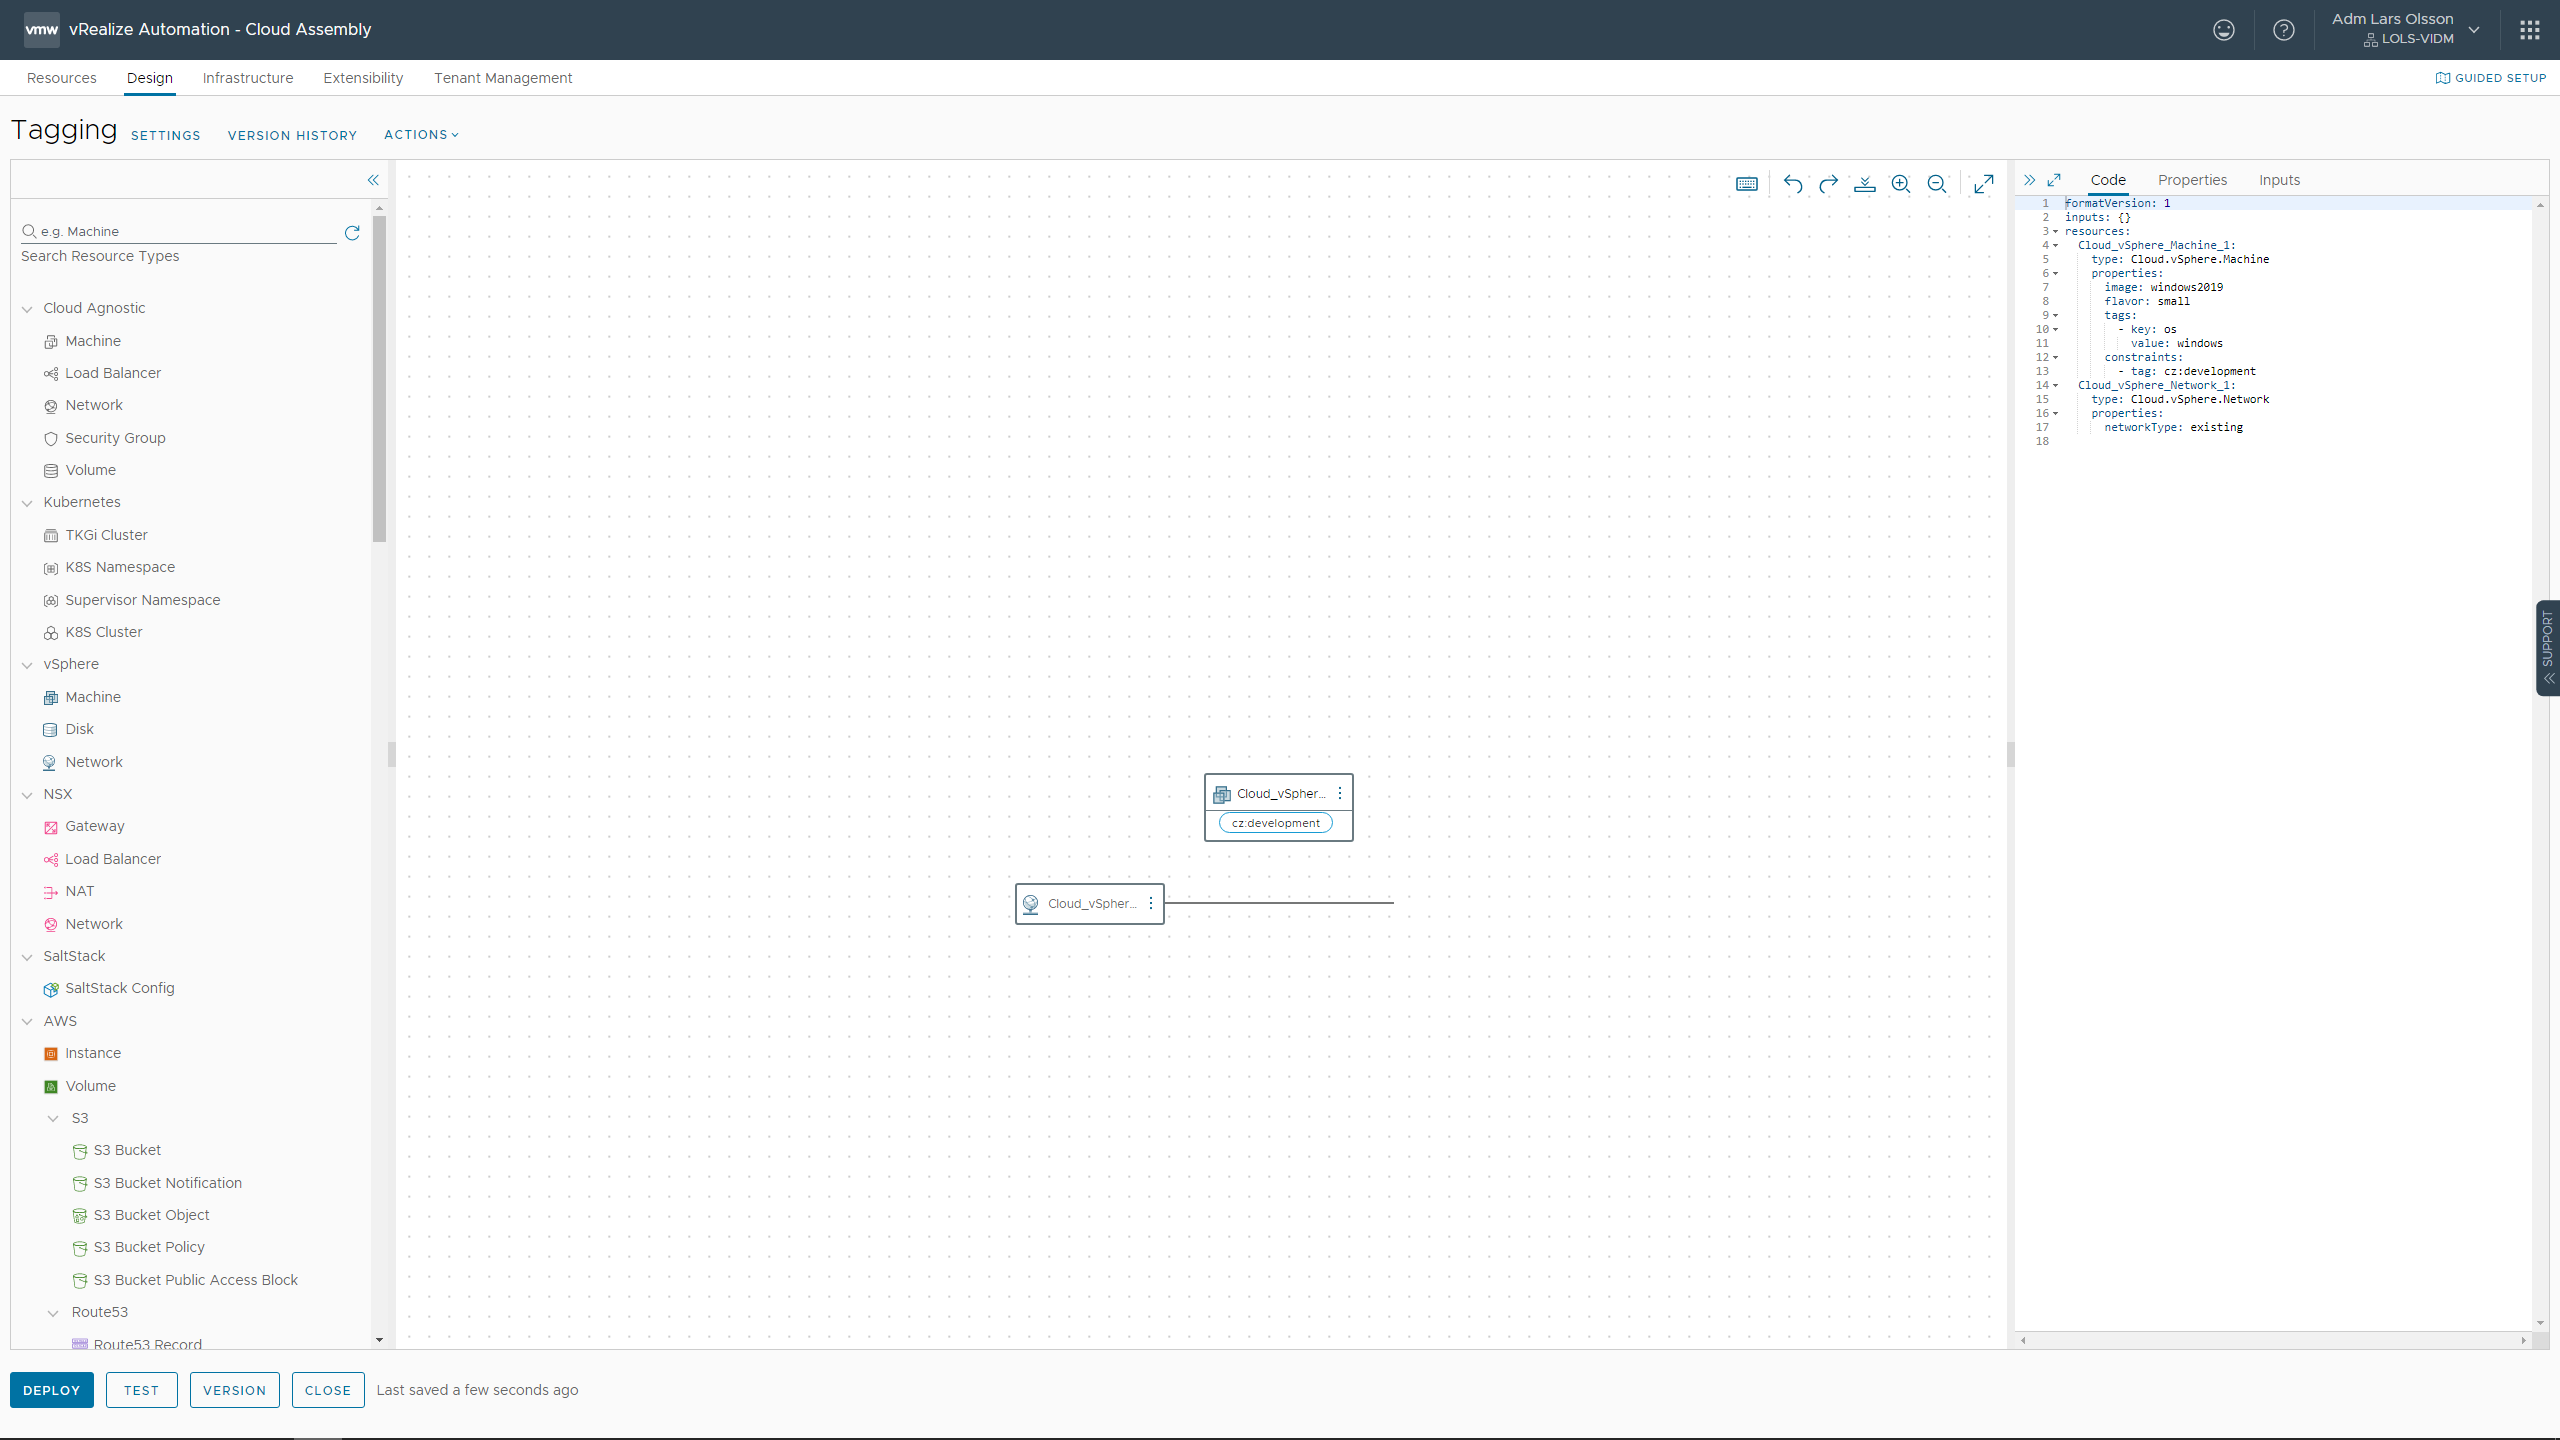
Go to the Design tab. Click the Tagging Cloud Template to modify it.
Start off by dragging a vSphere Network out on to the canvas.
Modify the YAML code to include the following. This should belong to the vSphere.Machine properties object.
networks:
  - network: ${resource.Cloud_vSphere_Network_1.id}
And then add the following to the vSphere.Network properties object.
constraints:
  - tag: net:production
The end result should look something like this.
formatVersion: 1
inputs: {}
resources:
  Cloud_vSphere_Machine_1:
    type: Cloud.vSphere.Machine
    properties:
      networks:
        - network: ${resource.Cloud_vSphere_Network_1.id}
      image: windows2019
      flavor: small
      tags:
        - key: os
          value: windows
      constraints:
        - tag: cz:development

  Cloud_vSphere_Network_1:
    type: Cloud.vSphere.Network
    properties:
      networkType: existing
      constraints:
        - tag: net:production
This will make sure your VM end up in the Network profile that is tagged with ‘net:production’
Go ahead and deploy to try it out.